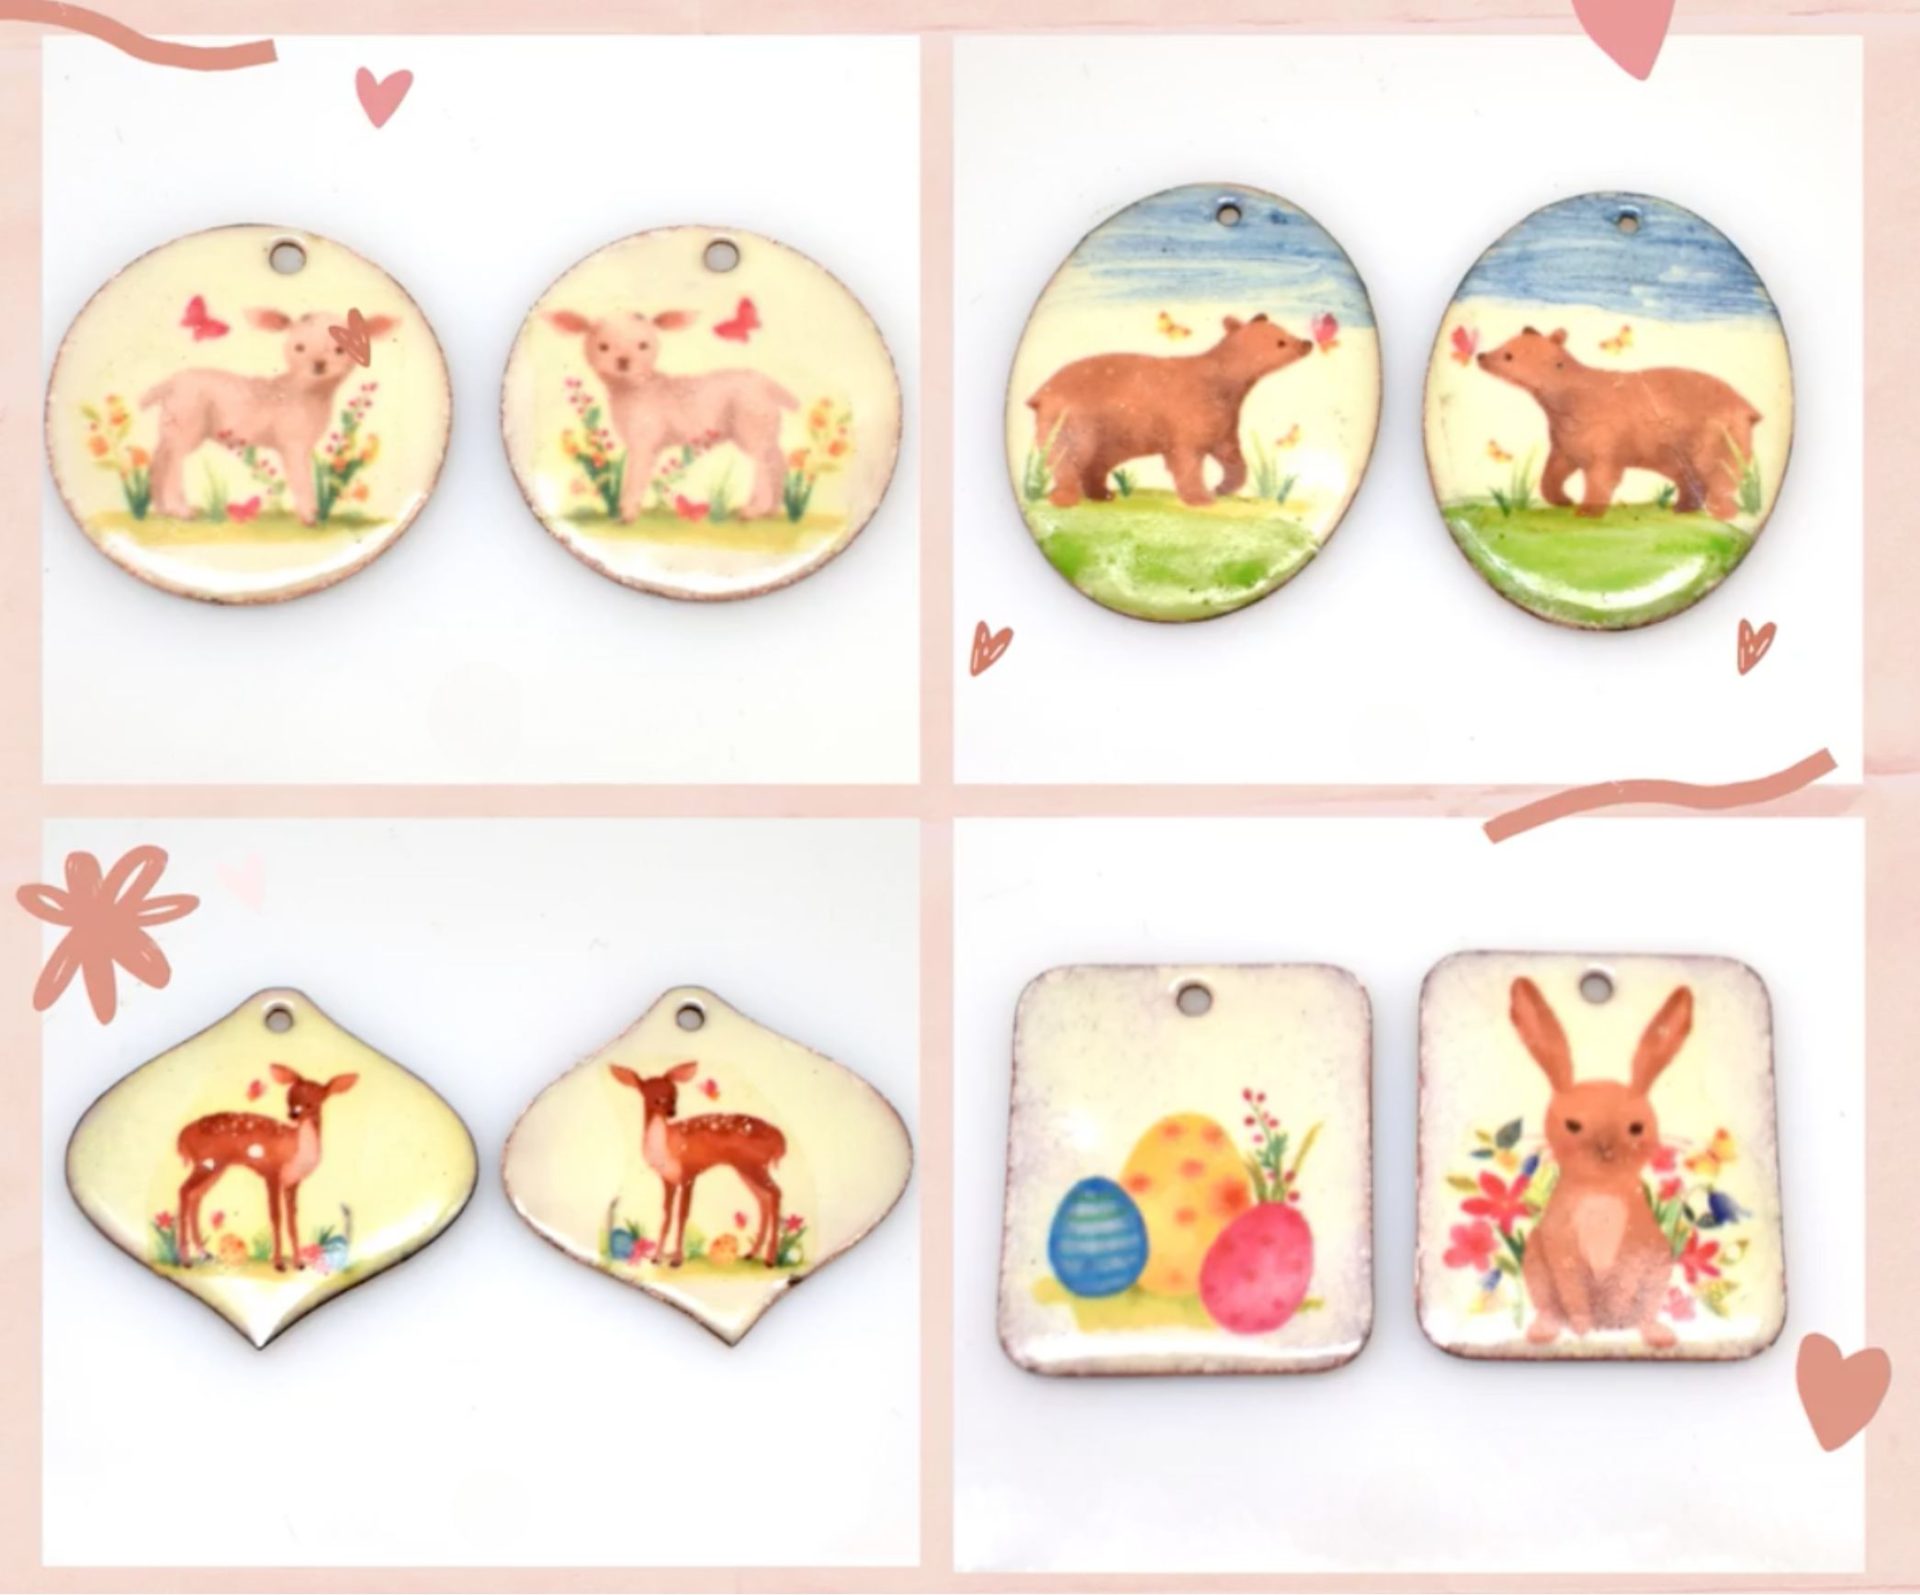
Enamel decals have been a game-changer in my enameling journey, offering a simple way to transfer intricate designs onto my creations. In this tutorial, I’ll walk you through my step-by-step process of using enamel decals and bring my designs to life. Let’s dive in!
Cut around the designs and soak the decals in lukewarm water for approximately one minute until they easily separate from the white base.
Once separated, place it on the enameled layer prepared earlier, gently removing any air and water bubbles with paper towels, and allow it to dry for a few hours.
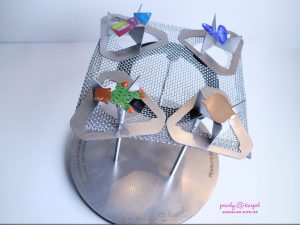
Once dry, begin to gently apply heat from below the part and from a distance to make sure it’s dry and the decal does not pop up.
After a few seconds of heating, you’ll notice the decals darken and emit smoke. Remember to work in a well-ventilated area and wear a mask for safety. Gradually, the design will begin to reveal itself again.
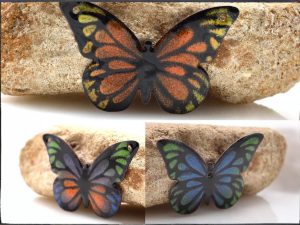
It’s crucial to avoid overheating the decal, as this can lead to smearing. The goal is to achieve a smooth surface with a crisp design.
If the surface isn’t smooth enough after cooling, simply reheat the part until it reaches the desired smoothness.
Now that you’ve learned the art of applying enamel decals with precision, you’re ready to take your enamel work to new heights. Happy enameling!