Top 10 Torch-Fired Enameling Tips for Better Results

I’d like to share with you 10 tips that will help you with torch-fired enameling to achieve better results:
-
Add counter enamel to the back of your copper piece. Black enamel powder won’t change color when you fire the layer on the front of the piece.
-
Ensure you apply two thin coats of counter enamel evenly on the surface and fire in between. This will help prevent the enamel from cracking or chipping.
-
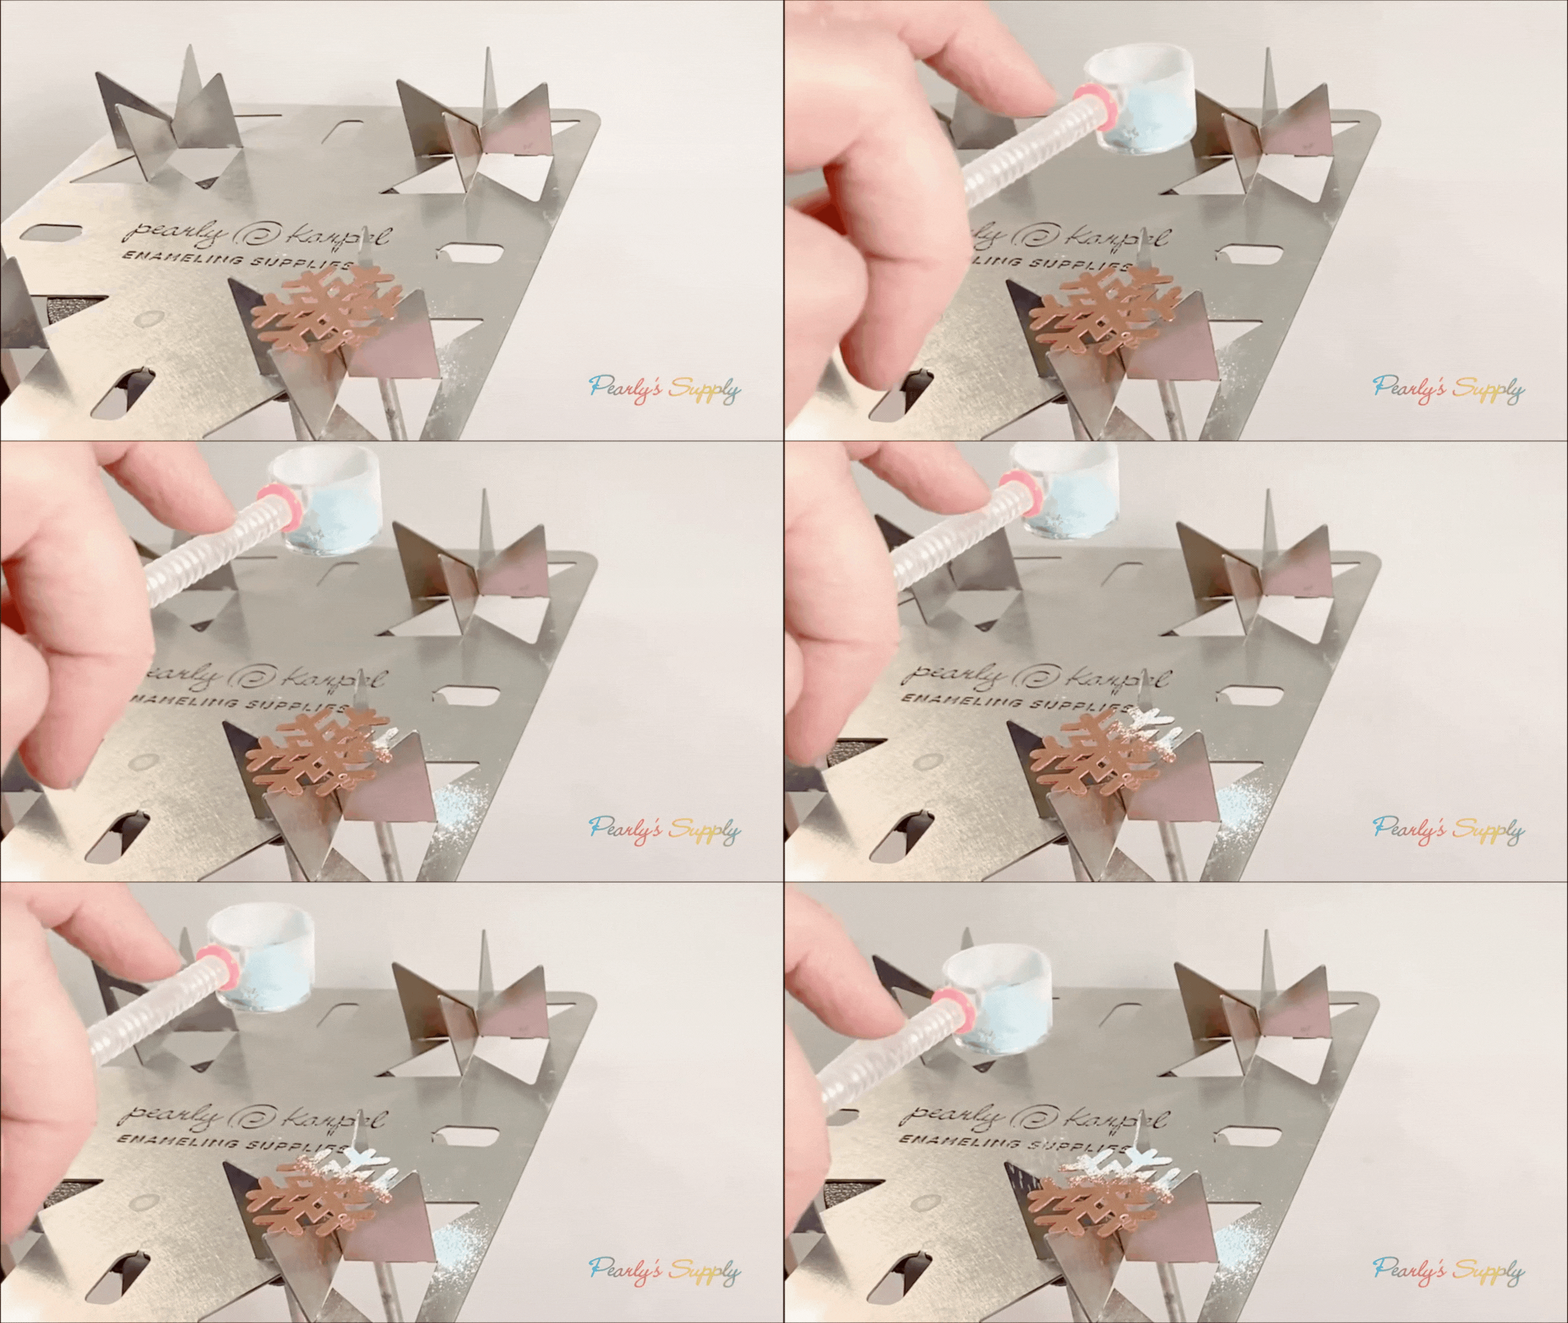
When sifting enamel powder, aim to fill the sifter to the middle of its height. This ensures you apply an even layer quickly and easily.
-
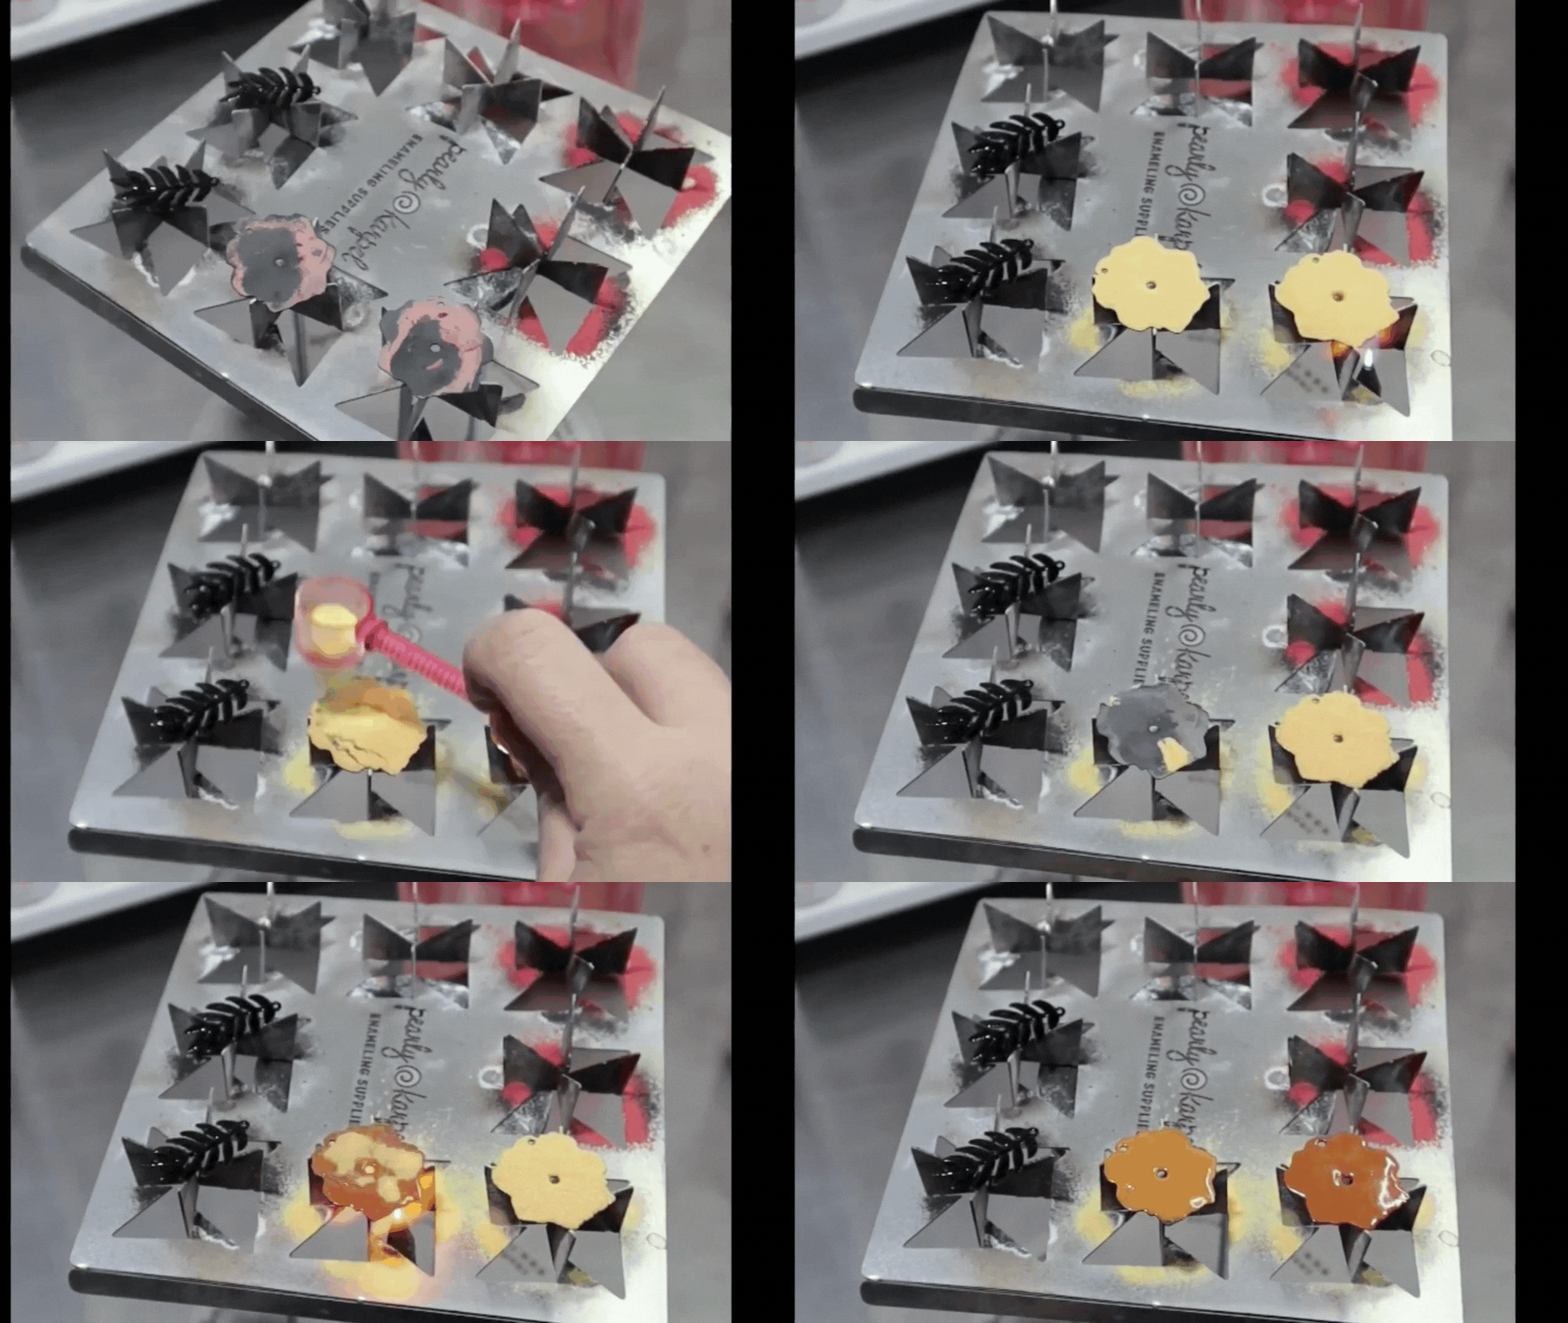
Use the torch to heat the enamel until it becomes liquid look. This typically takes about 3-5 minutes, depending on the piece’s size and the torch type. Keep the torch moving to avoid overheating in any one spot.
-
Work in a well-ventilated area and exercise caution when using a torch.
-
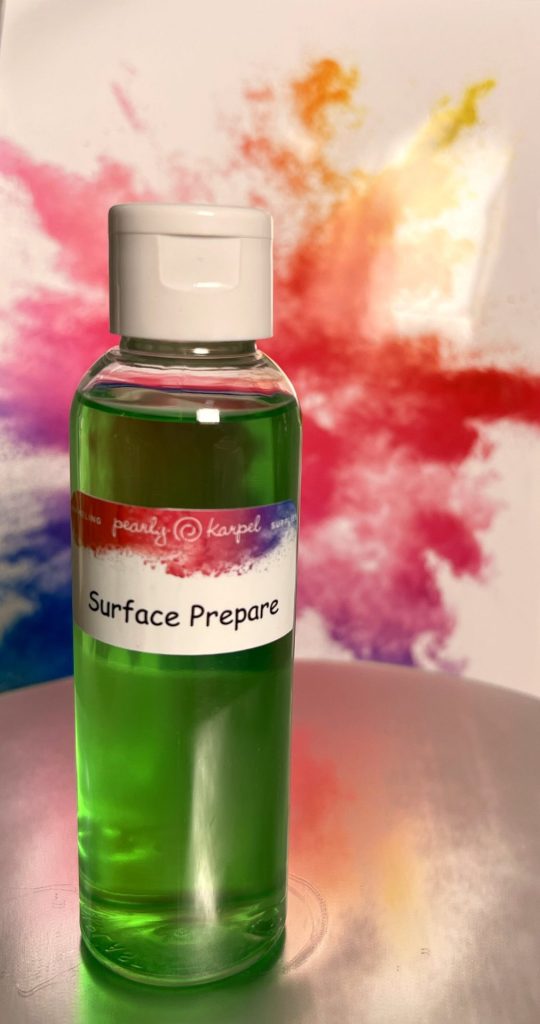
When applying paints on top of enameled copper layers, use a “surface prepare” solution or soap without bubbles. Wipe it with a paper towel to reduce surface tension and enable easier paint application.
-
When sifting multiple enamel colors, clean the sifter with a soft brush between uses to prevent contamination.
-
Always use tweezers to handle parts after enameling to avoid burns.
-
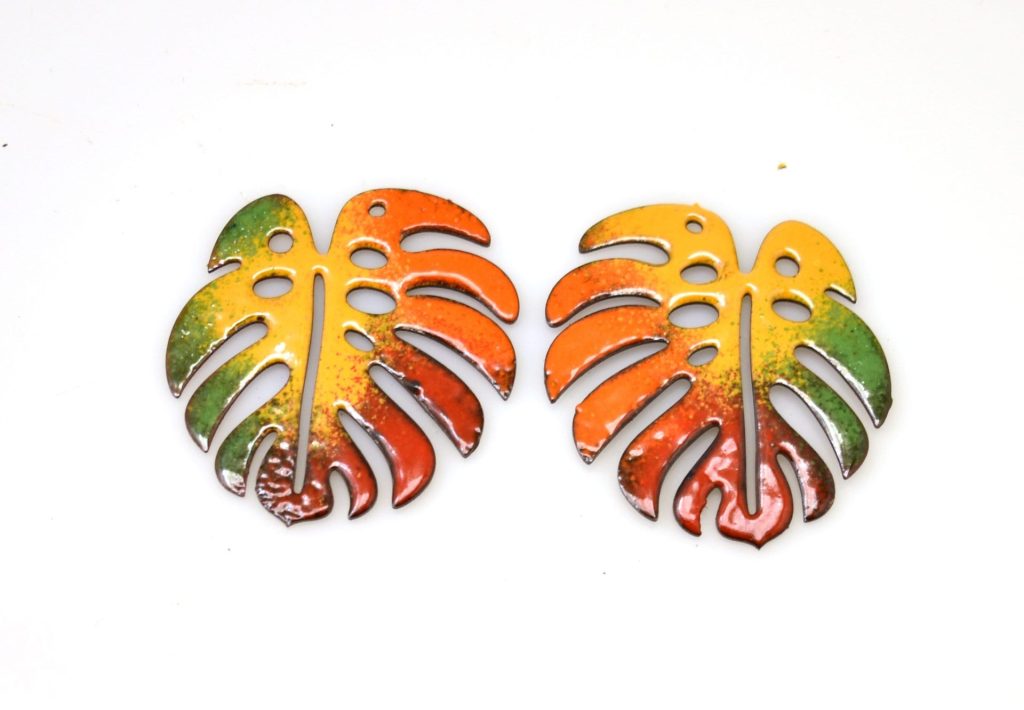
If you’re creating a pair of enameled copper parts for earrings, ensure you design them as mirror images.
-
If an enameled copper piece bends after a few firings, heat it until it changes color and becomes soft. Then, place it on a metal surface and flatten it using a large spatula.
With these practical tips, you’re ready to take your torch-fired enameling to the next level.
You can also check out my online course, “The Secrets of Copper Enameling Finally Revealed,” designed for both beginner and intermediate artists alike. Unlock the mysteries of enameling and take your craft to new heights!

